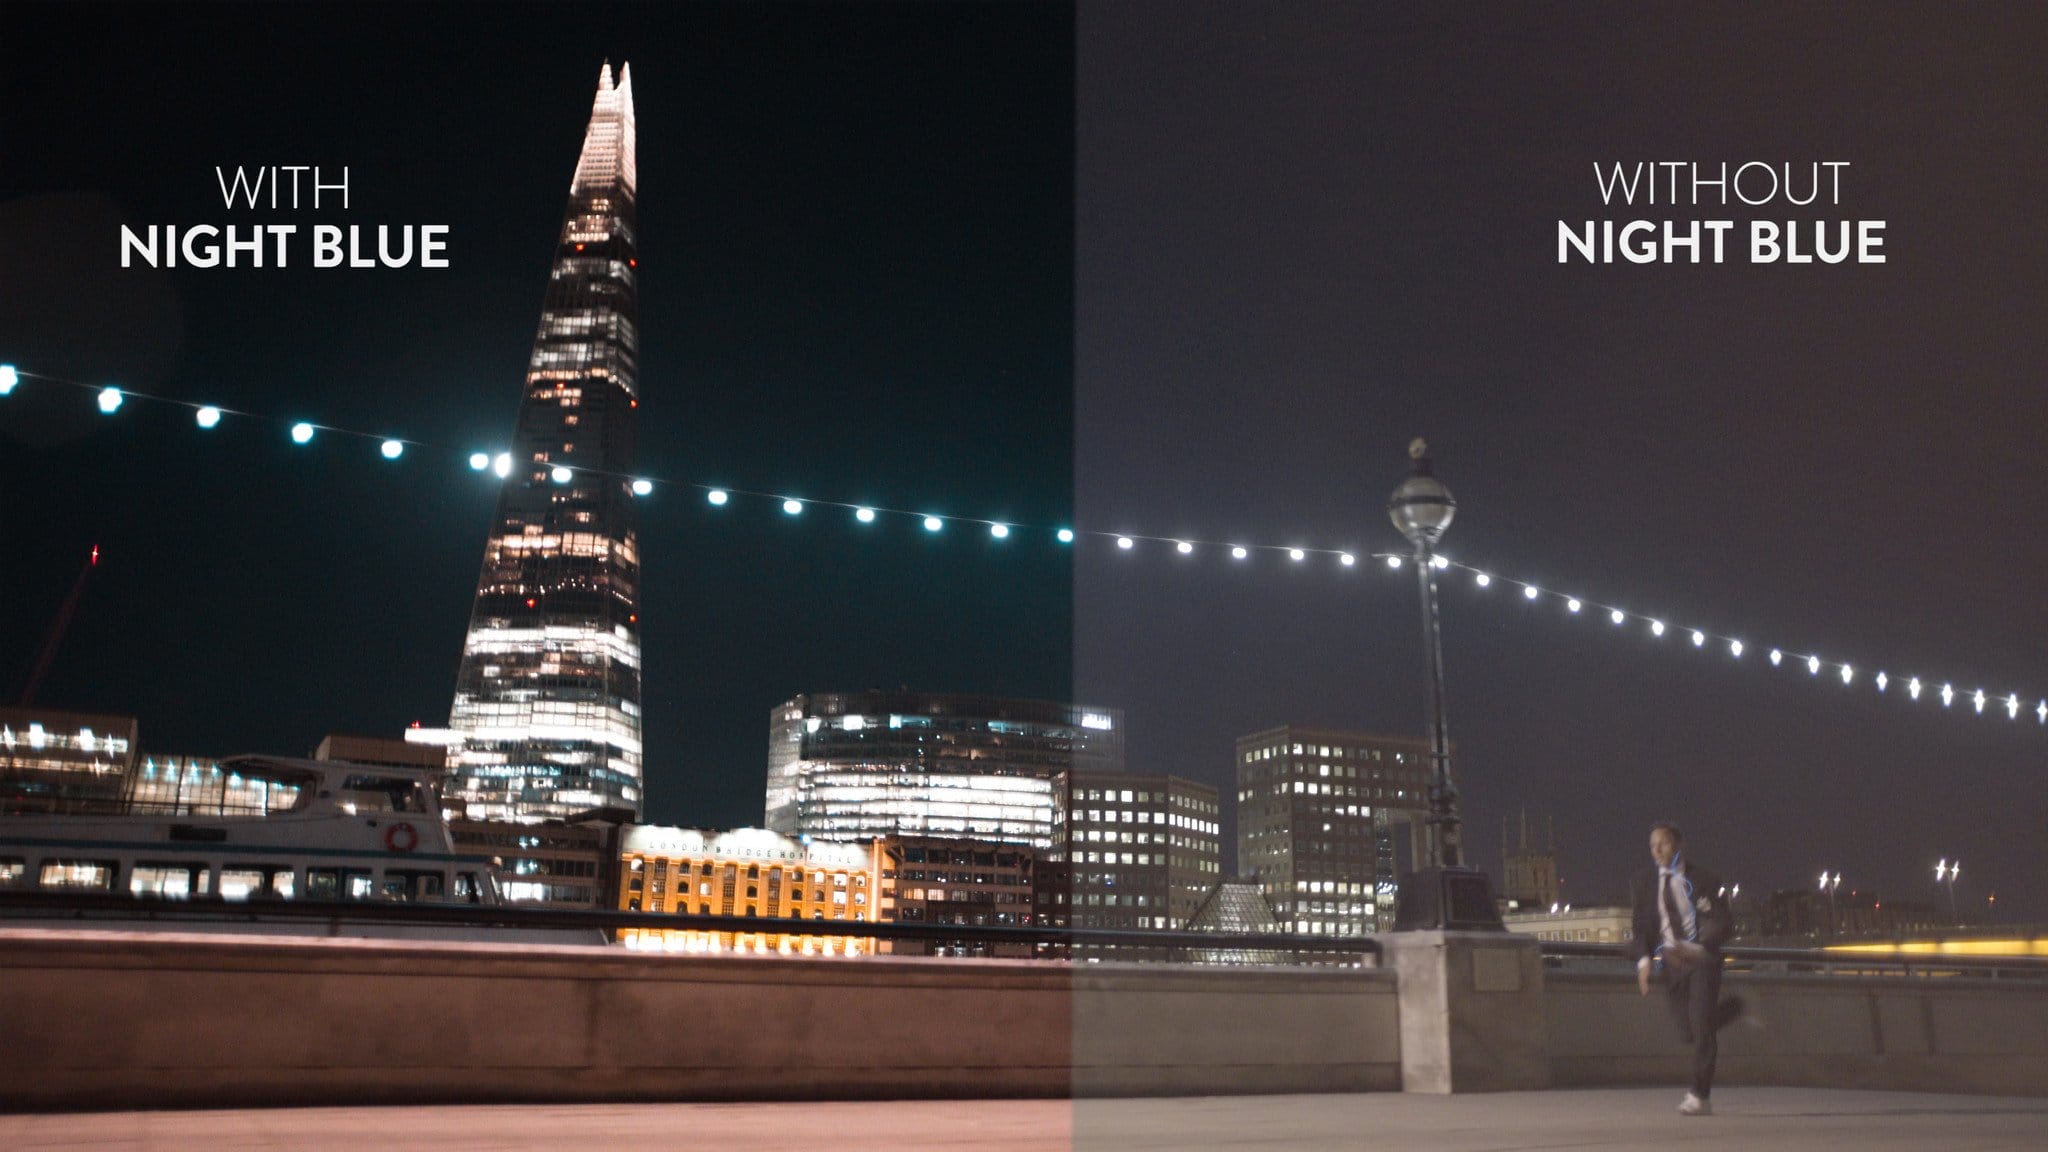
Modern digital sensors from RED, Arri, and Sony are marvels of technology, providing incredible dynamic range, zero noise, and clinical sharpness. However, many filmmakers find this hyper-realistic look too sterile. They have spent decades trying to replicate the organic, flawed, and beautiful characteristics of classic Kodak and Fujifilm celluloid stocks. In this comprehensive guide, we will teach you how to effectively emulate authentic film looks using modern digital tools.
1. The Core Characteristics of Celluloid Film
To emulate film, you must first understand what makes film look like film. It isn't just color; it's a combination of physical and chemical reactions:
- Halation: A red/orange glowing effect that occurs around bright highlights (like practical lights or the sun) as light bounces off the back of the physical film strip.
- Film Grain: The physical silver halide crystals in the film emulsion, which manifest as organic, moving texture, especially in the midtones and shadows.
- Subtractive Color: Film absorbs light, leading to richer, denser colors in the shadows compared to the additive RGB color model of digital sensors.
- Highlight Roll-Off: Film handles overexposure incredibly gracefully, maintaining color detail deep into the highlights.
2. Using LUTs for Chemical Emulation
The foundational step in emulating film is mapping the digital color space to mimic specific chemical print stocks (like Kodak Vision3 2383). You can easily achieve these complex color transformations by exploring our Atmospheric Film LUTs, which are designed specifically to emulate the beloved color characteristics, density, and contrast curves of 35mm film.
3. Softening the Digital Edge with Hardware
While software can do heavy lifting, the best film emulation starts on set. Modern lenses are incredibly sharp. Combine your film emulation LUTs with practical diffusion filters on your lens (such as a Pro-Mist or CineBloom filter). These filters bloom the highlights naturally and reduce micro-contrast, taking the digital "edge" off the image. You can read extensive reviews of various diffusion filters on CineD.
4. Adding Texture in Post-Production
Once your LUT is applied, the final step is texture. Overlay high-quality 4K or 8K scanned film grain onto your footage using a "Overlay" or "Soft Light" blending mode. Make sure the grain is sized appropriately for your timeline (16mm grain is larger and more aggressive than 35mm grain). If your software supports it, add a subtle halation plugin to make the practical lights glow red.
5. Conclusion
Achieving a true film look is a multi-step process that combines on-set hardware choices with precise post-production color science and texturing. With the right techniques and high-quality LUTs, nobody will know you shot your project on a modern mirrorless digital camera!
Comments (0)
Leave a Reply
Join the Discussion
You must have an account with us before you can leave a comment.
