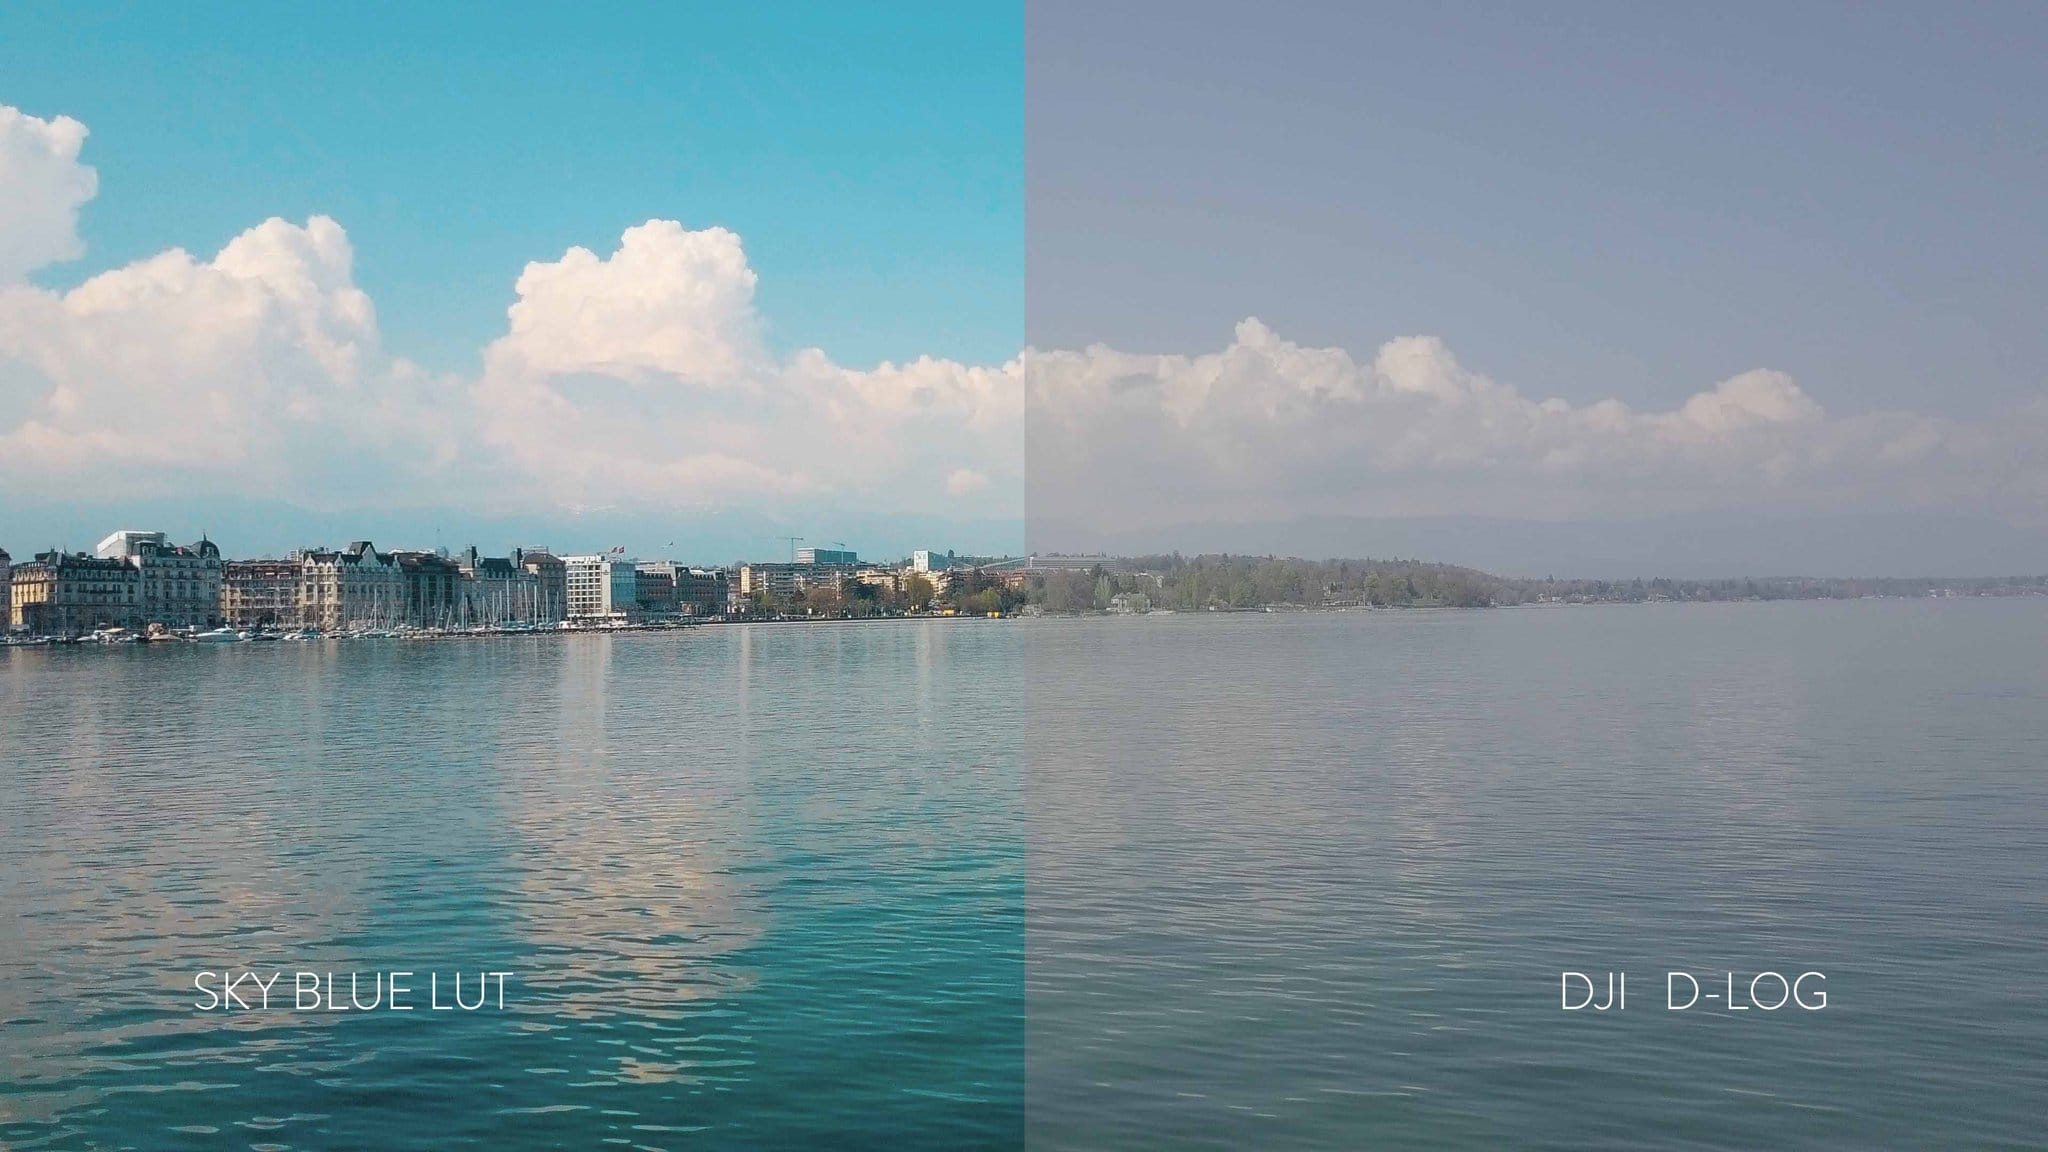
Winter footage is notoriously difficult to color grade. The abundance of white snow often confuses camera sensors, leading to intense blue or magenta shifts, and proper exposure can be tricky to nail without clipping highlights. In this comprehensive, 15-minute masterclass, we will explore the professional techniques required to color grade challenging winter and snow footage inside DaVinci Resolve.
1. The Physics of Snow and Light
To grade winter footage correctly, you must first understand the physics of the environment. Snow is essentially a massive, highly reflective bounce board. It bounces the color of the sky (often blue on clear days, or cool gray on overcast days) back onto your subjects. This means the ambient light filling in the shadows of your subject's face is heavily tinted blue. If you try to simply warm up the entire image using a global temperature slider, the snow will turn an unnatural yellow or muddy brown, while the shadows remain contaminated.
2. Node-Based Workflow for Snow
DaVinci Resolve's node-based architecture is perfectly suited for tackling this problem. Instead of global adjustments, you need to isolate specific tonal ranges. The standard approach involves creating a node tree that separates primary exposure, white balance, contrast, and creative looks.
3. Establishing the Perfect White Balance
To get started, you need to establish a proper white balance. We highly recommend exploring our Winter Lifestyle Creative LUT Pack. This pack was engineered specifically to understand the luminance values of snow. It gently pulls the blue cast out of the highlights (the snow) while maintaining cool tones in the deep shadows for contrast, and simultaneously pushing warmth into the midtones where skin tones reside.
4. Advanced Skin Tone Isolation
Even with a great LUT, you may need to manually isolate skin tones if the subject is wearing highly reflective ski gear. Use the HSL Qualifier tool in Resolve to select the face. Once isolated, use the Hue vs. Saturation and Hue vs. Luminance curves to smooth out any patchy colors caused by the harsh, cold wind hitting the subject's skin.
5. Dealing with Clipped Highlights
If your snow is clipped (pure white with no detail), there is no color information to recover. However, you can use the Soft Clip tool in Resolve to gently roll off the harsh edges of the clipping, making the transition from detail to pure white look more like organic film rather than harsh digital clipping.
6. Further Education
If you want to dive deeper into the node-based color grading workflow and truly master the software, we highly recommend checking out the official Blackmagic Design Training resources. With the right tools and knowledge, your winter footage will look truly cinematic.
7. Conclusion
Grading winter footage is a balancing act between maintaining the cold, harsh atmosphere of the environment and preserving the warm, human element of your subjects. By utilizing specialized tools and mastering Resolve's powerful qualifiers, you can achieve stunning winter visuals.
Comments (0)
Leave a Reply
Join the Discussion
You must have an account with us before you can leave a comment.
